


1. 28277709 Injector Control Valve’s Installation
- Before install the control valve, clean it in an ultrasonic cleaning machine for 3-5 minutes so that to make the dirt, anti-rust oil oxide, paraffin base, naphthenic base, intermediate base, salt, lead naphthenate, zinc naphthenate, sodium petroleum sulfonate, barium petroleum sulfonate, calcium petroleum sulfonate, tallow diamine trioleate and rosin amine shedding fall off.
- Use compressed air to clean up the cleaning fluid attached to the surface of the cleaned orifice plate to meet the use standard.
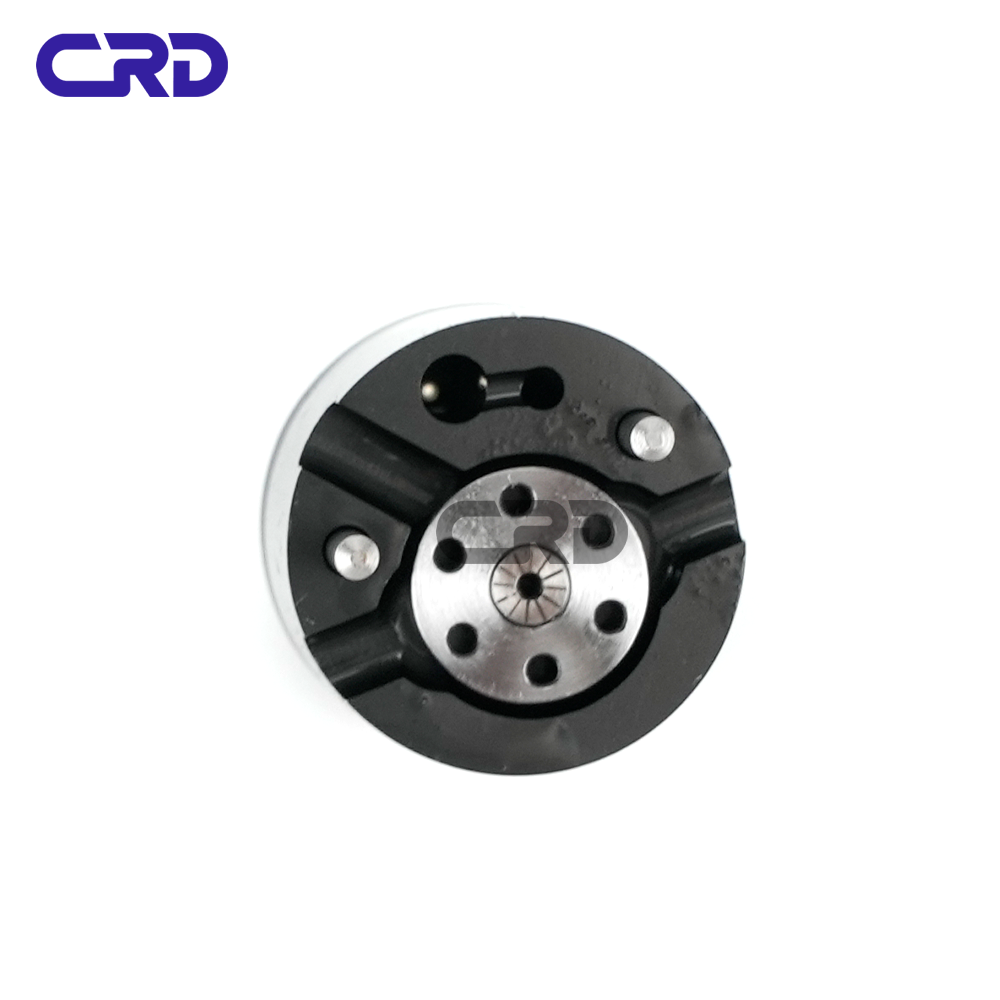
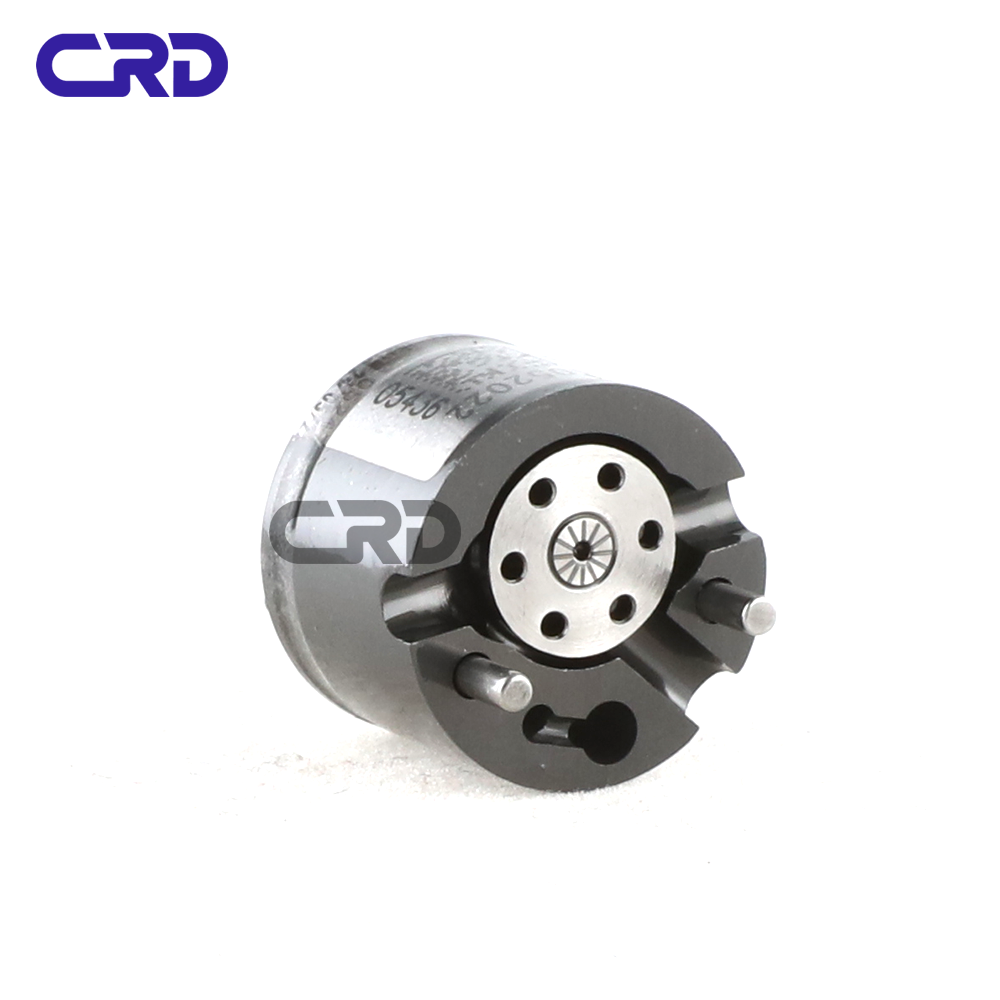
- Place the injector solenoid valve into the injector house, see as Pic No.1:

Pic No.1
- Put the solenoid valve spring adjustment shim into solenoid valve, see as Pic No.2

Pic No.2
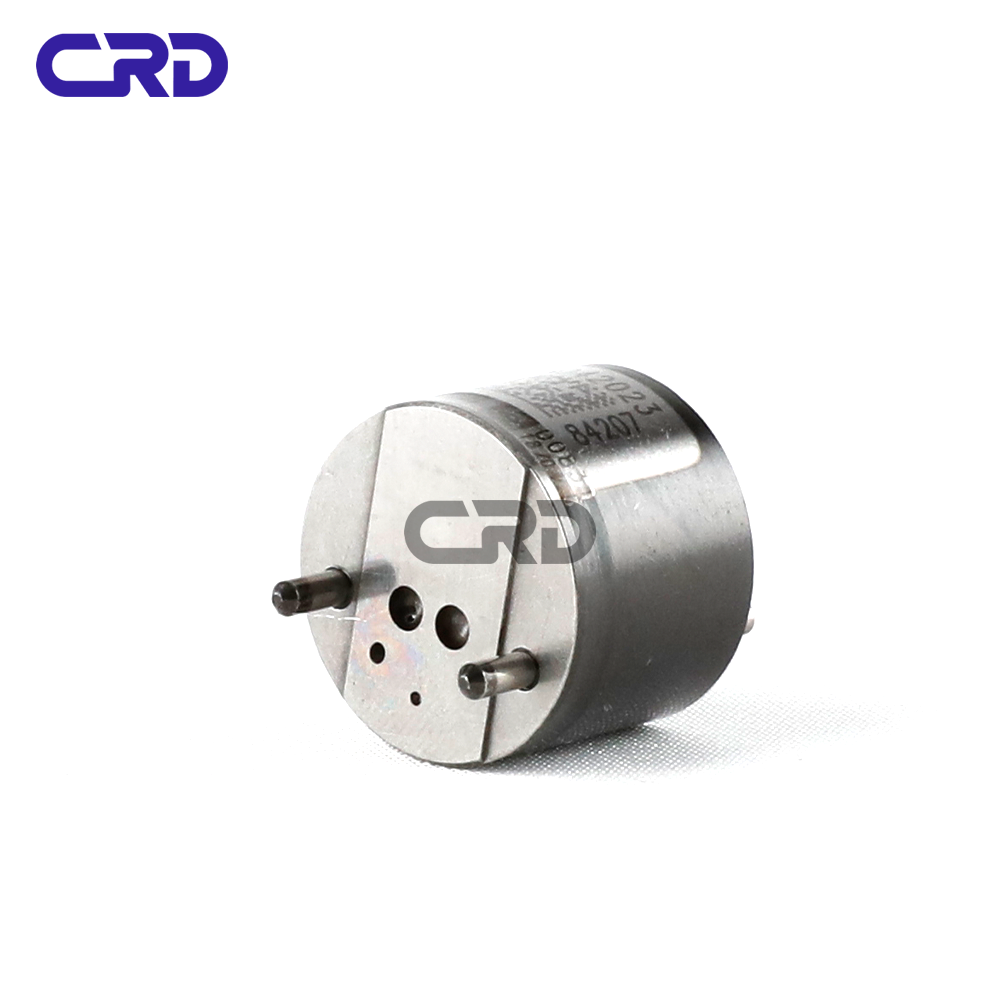
- Put the solenoid valve spring into the solenoid valve, see as Pic No.3

Pic No.3
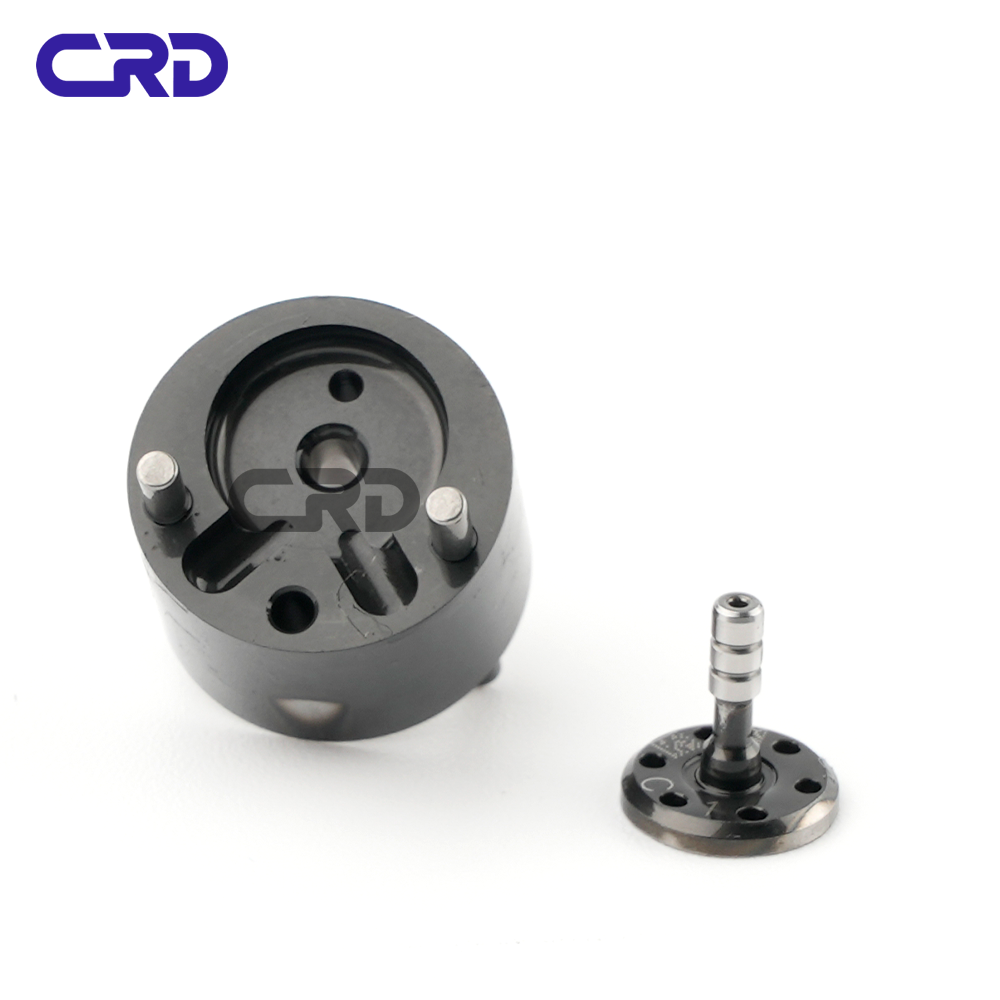
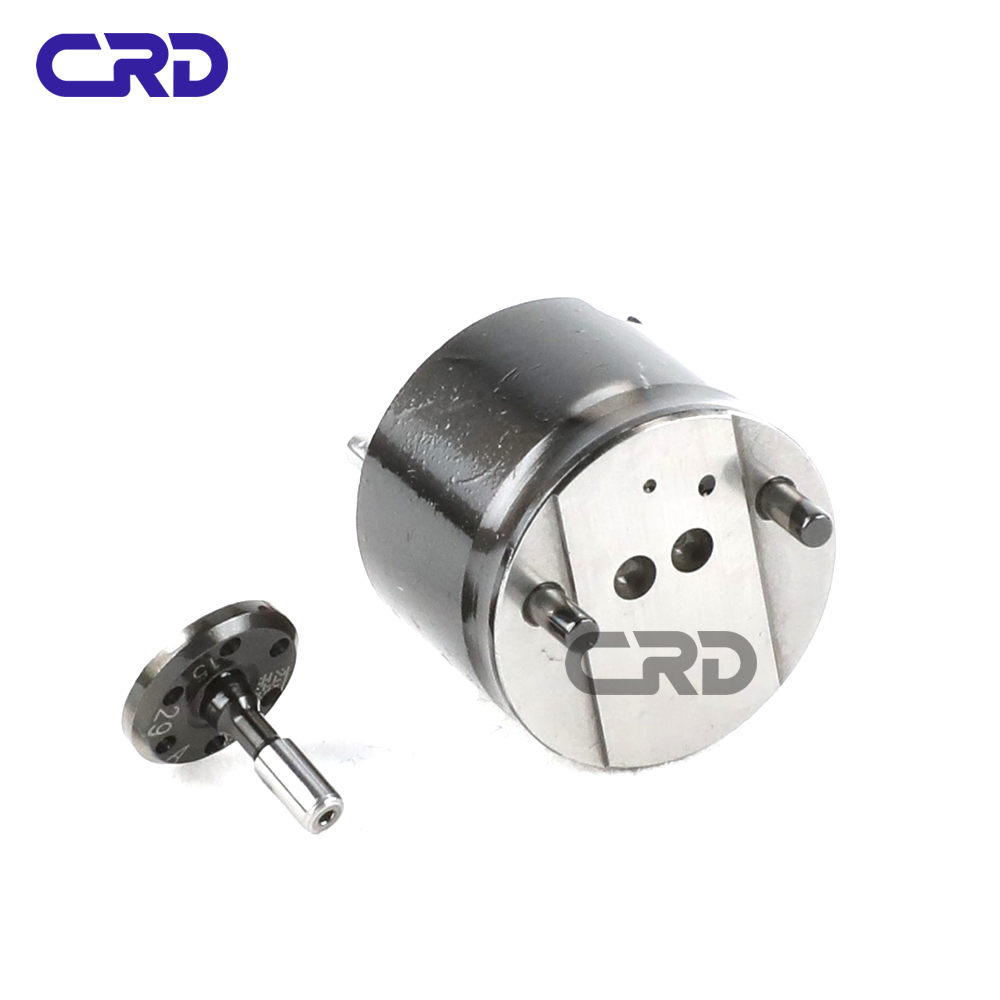
- Put the control valve coreinto the control valve, see as Pic No.4

Pic No.4
- Use theinjector stroke measuring tool (CRT220) to measure whether the gap between the control valve and the armature is in the range of 30~70μm, see as Pic No.5

Pic No.5
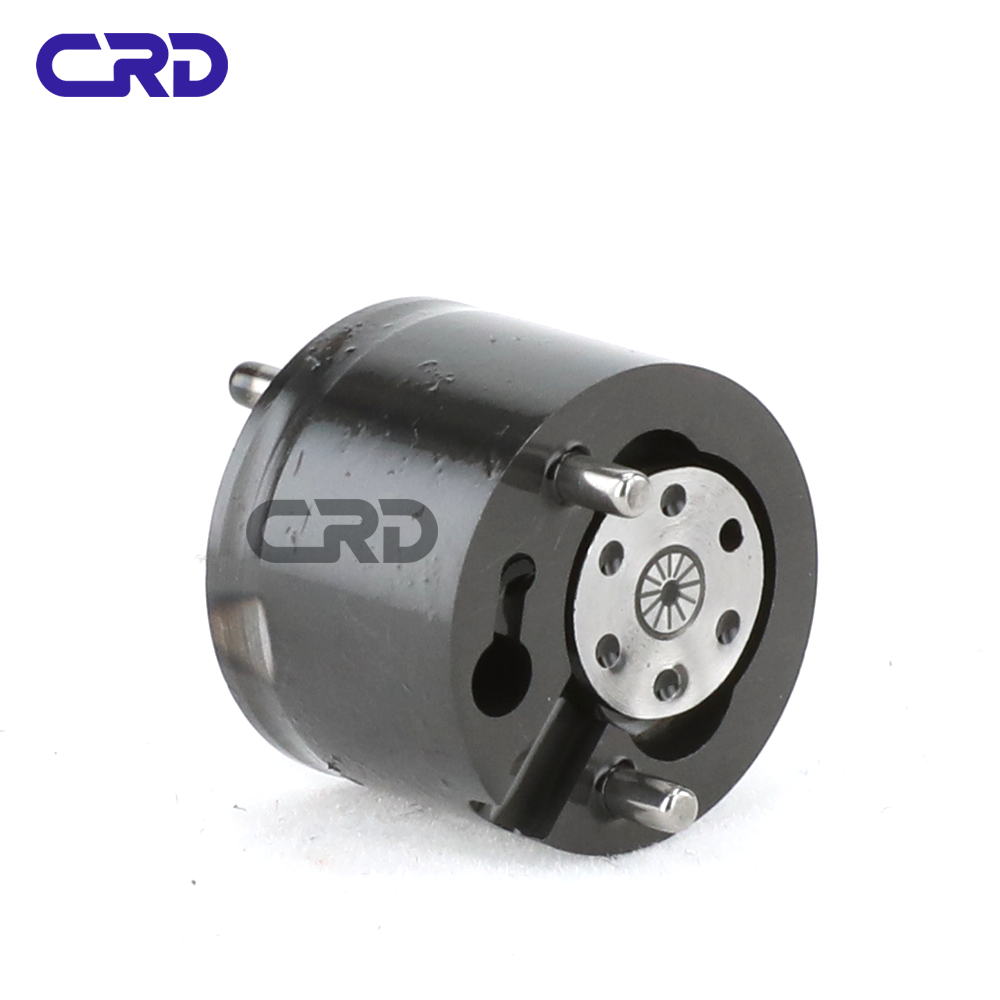
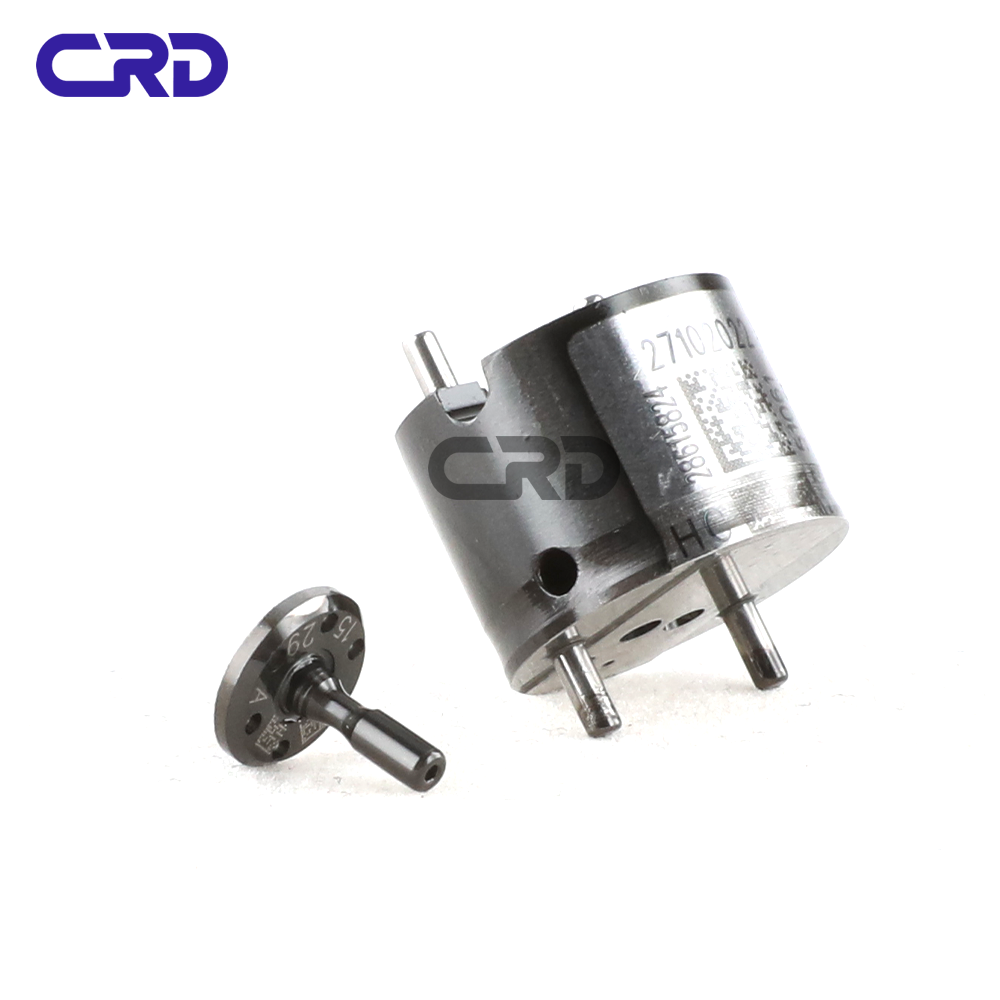
- Install the control valve in the injector house, see as Pic No.6

Pic No.6
- Install the injector nozzle spacer on the control valve, see as Pic No.7

Pic No.7
- Put in the nozzle needle valve spring, see as Pic No.8

Pic No.8
- Put the nozzle needle valve into the nozzle, see as Pic No.9

Pic No.9
- Install the nozzle on the injector, see as Pic No.10

Pic No.10
- Install the injectornozzle cap on the injector with a torque wrench (CRT084), torque is within 40-45Nm, see as Pic No.11

Pic No.11
- After installation, use a multi-meter (RTK199) to measure whether the resistance range of the injector solenoid valve is within (0.155Ω–0.190Ω), see as Pic No.12

Pic No.12
- Insulation test. Test whether the injector is insulated from the shell, use (500v, 10M or highervoltage) for testing, see as Pic No.13

Pic No.13
(a)LEAK TEST
Test Result
1.The oil return is not sealed:Leakage between control valve and armature.
May Lead To:
1.Leaky oil return may lead to large oil return volume, the nozzle oil leakage and can not build up pressure, which cause to injector failure working.
Solution:
Check the control valve’s sealing condition or change control valve.
2. Copyright Statement
The copyright of any contents (including but not limited to parameters, data, text, charts, images, sound, videos, etc.) provided in “28277709 Injector Control Valve Encyclopedia For 625C Series” belong to www.crdicontrolvalve.com. Any unauthorized use of this passage or its contents is strictly prohibited and may violate copyright law and other applicable laws and regulations. If there is any question, please contact us through email hison@shumatt.com.

